Mar
26
2014
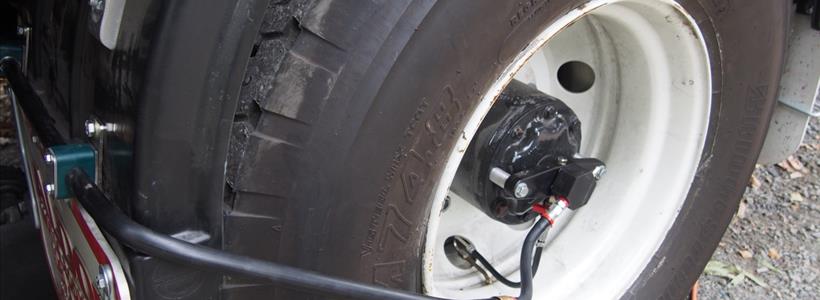
I am fitting an Air CTI (Central Tyre Inflation) system, to allow me to change tyre pressures from the cabin. If you want to skip to the section with pictures of the install, just scroll down over this initial bit on weights.
Axle Weights
I took the truck over a local weighbridge to discover what the axle weights were. The axle weights will be used to calculate what PSI will be pre-set for bitumen/dirt/sand terrain on the Air CTI controller. The weights were:
Front Axle: 4.23T
Rear Axle: 4.02T
Whole vehicle: 8.25T
As a comparison, the empty Cab/Chassis brand new from the dealer had the following weights:
- Front Axle: 4.06T
- Rear Axle: 1.78T
- Whole vehicle: 5.84T
So the build process has only added less than 200Kg to the front axle, and 2200Kg to the rear axle - or all up an extra 2.4 tonnes over the bare bones cab/chassis. At the moment, all that is fitted to the canopy is the bed, the fridge, some cupboards, 3 Optima batteries and few other minor bits and pieces, so the actual canopy weight is pretty much exactly 2000Kg. This is what we estimated, so happy with all that.
Not sure if I will be able to keep it below 9 tonnes, given that I am 8.25T with only half a tank of diesel and no water on board. A reasonable estimation might be:
- Current truck weight: 8,250Kg
- Water: 400Kg
- Fuel: 150Kg (only had 150L on board when I measured it - of 300L capacity)
- Table/seating/cupboards: 200Kg
- Toilet/shower area: 100Kg
- Personal belongings/crockery/clothing/food: 200Kg
So that adds up to perhaps 9.25T, so a little over what I expected.
Air CTI Installation
If you're not sure what Air CTI does, it simply allows you to change your tyre pressures while you are driving along, to cater for changing road surfaces and terrain. If you buy yourself one of the more modern UniMogs it comes with this system built into the truck, but on a MAN you have to add it on. The Mercedes system is very neat because the air comes through the central hub with no external "arms" like the one I have bought.
The installation took 2 days to complete. It is quite a complicated little system, with computer controlled solenoids, custom fittings for the front axle, and air lines etc. It taps in to the existing air-brake system on the truck, so you don't need an additional compressor. There is a safety cut-out to stop feeding the system if the air pressure in the main brake tanks drops below 60PSI (I think) so you don't ever run out of air for your brakes, which is a useful thing!
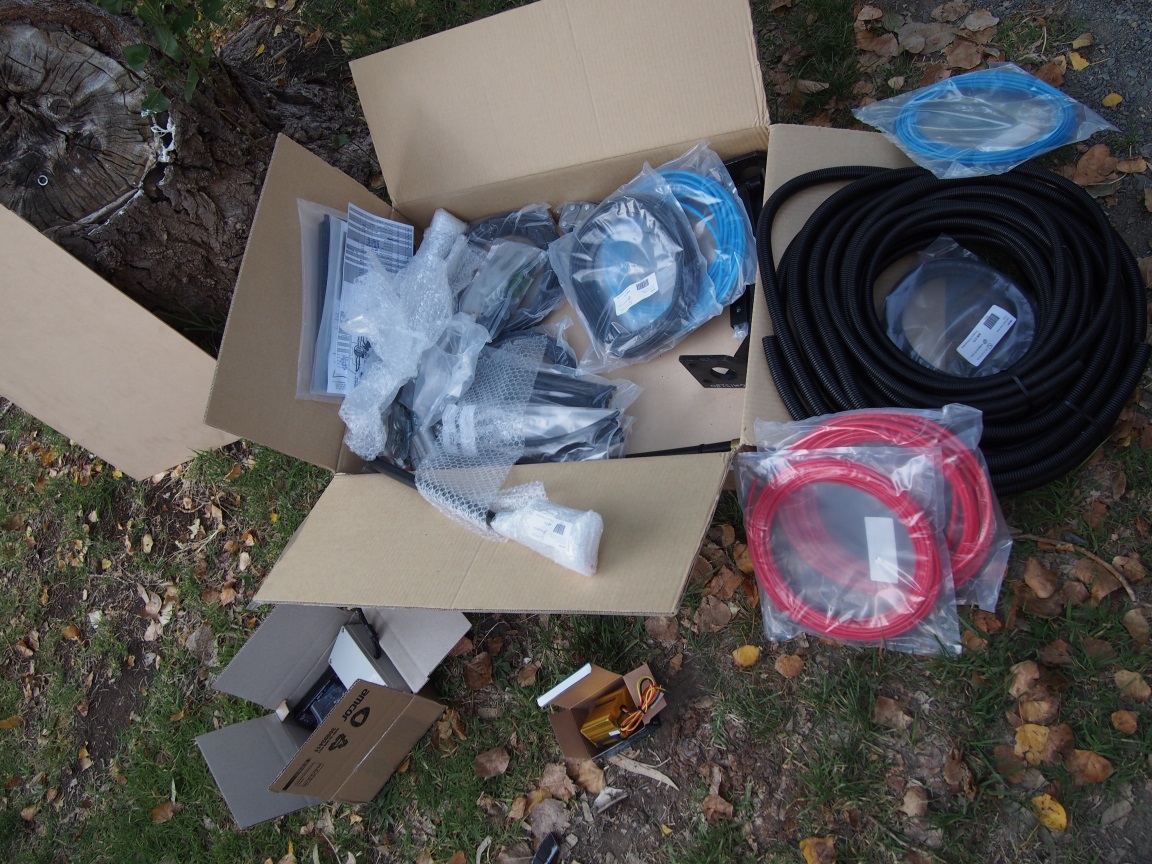
It all turned up in a single box of air hose, fittings, control units and so on.
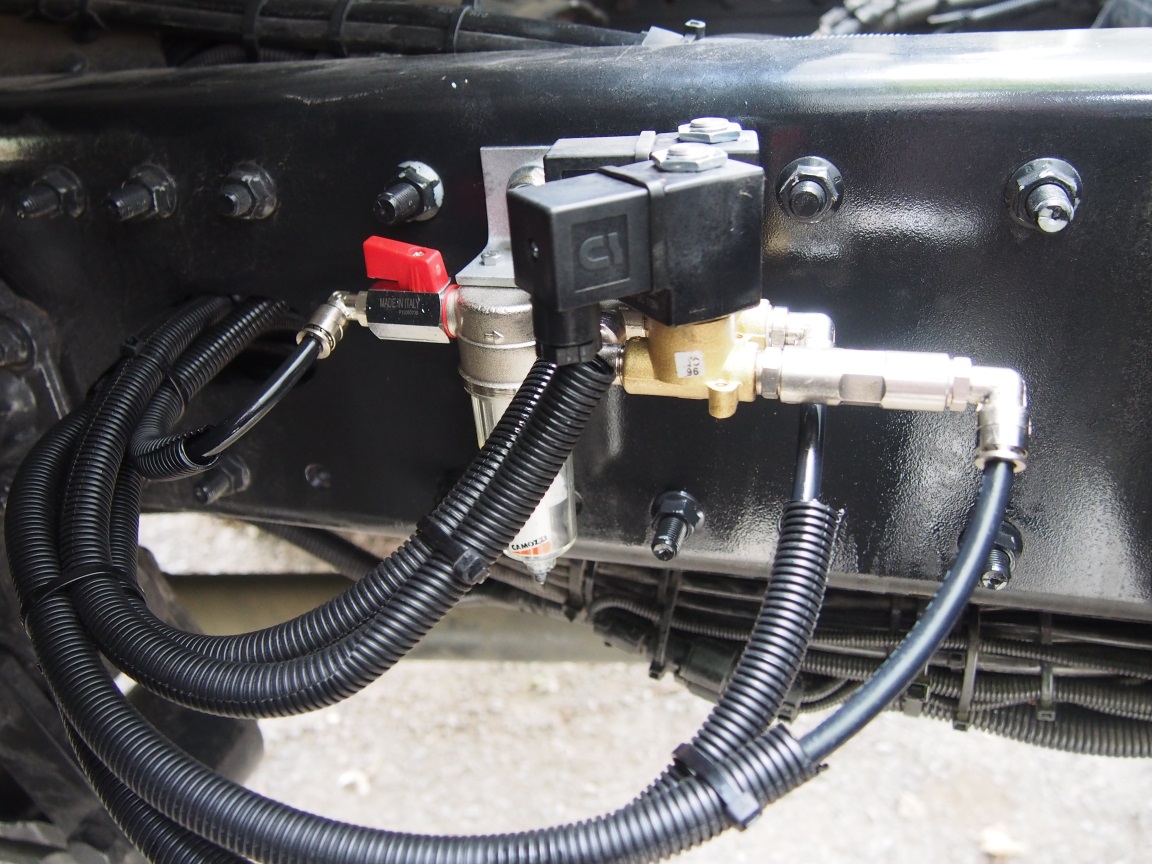 This is the main controlling manifold with a built in filter. The main air comes into the left of it, and is distributed out to the front and rear axles by the 2 solenoids.
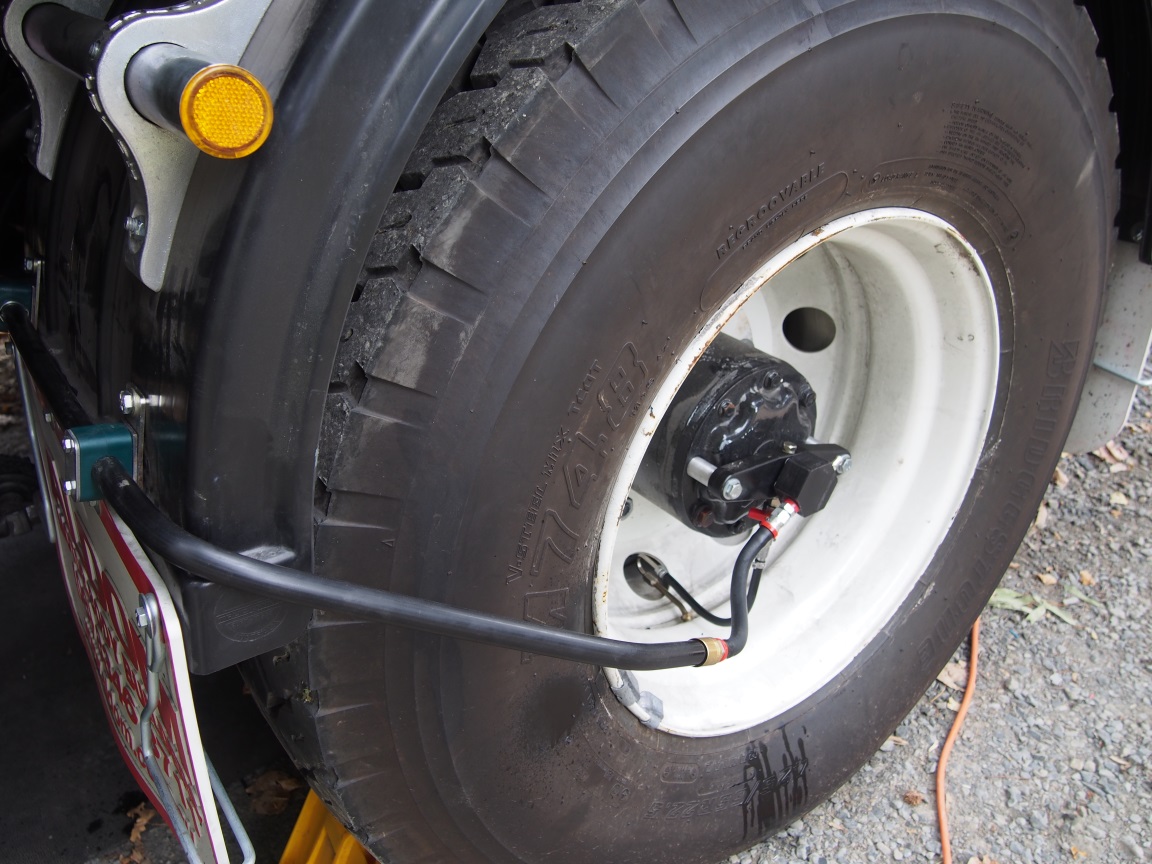
This is how the rear wheel looks once it is all assembled. The centre rotator "rotates" and allows you to apply air pressure to the tyre whilst moving. There are small shut off taps on each rotator so you can isolate each wheel, like if you are leaving the vehicle for a few days, so air cannot escape back through all the plumbing.
The drips on the tyre are oil from the reduction hub. I presume it is diff oil. A little bit came out when the original bolts were removed to fit the rotator bracket.
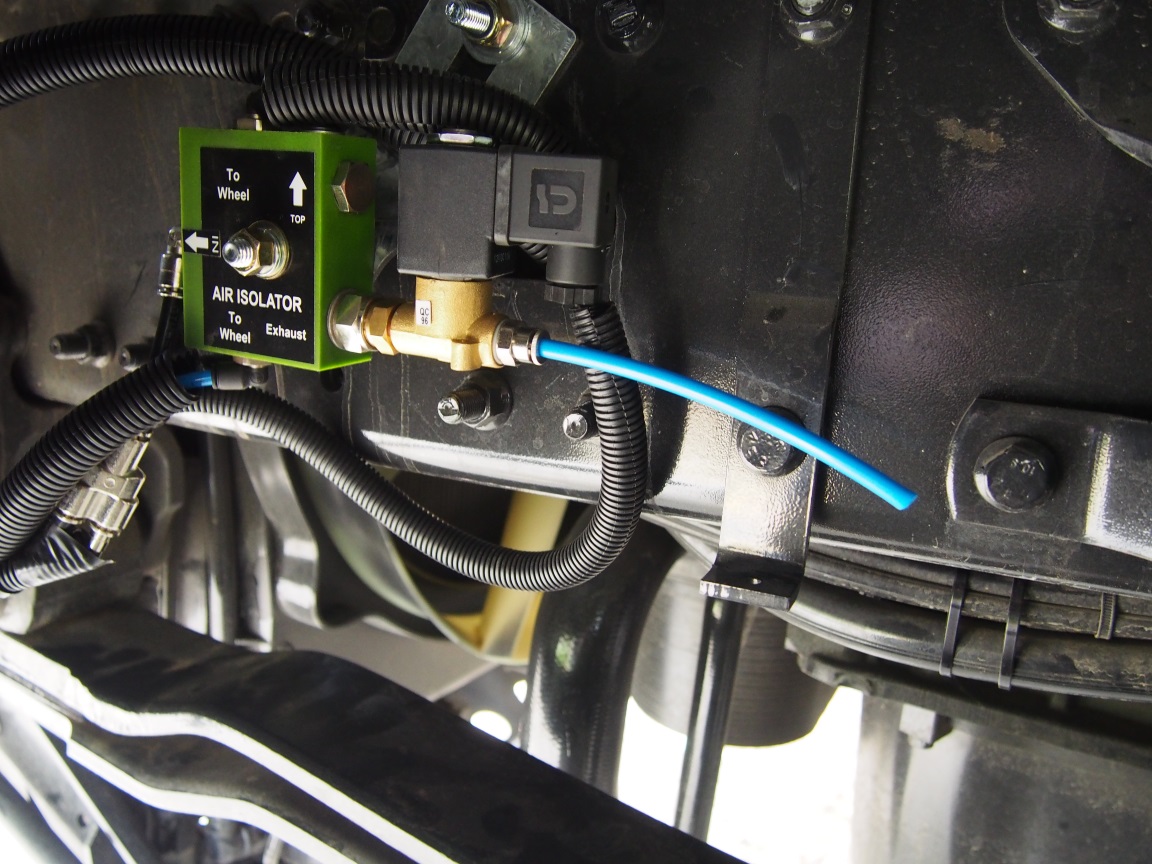
There are two control blocks down-stream from the main control manifold, one for the front axle and one for the rear. The big solenoid on the right is for dumping air when you want to lower pressures. Because each axle has one of these, so you can have different pressures for the front tyres vs the rear tyres.
This block also stops air from transferring from the left to right tyres and vice versa when standing.
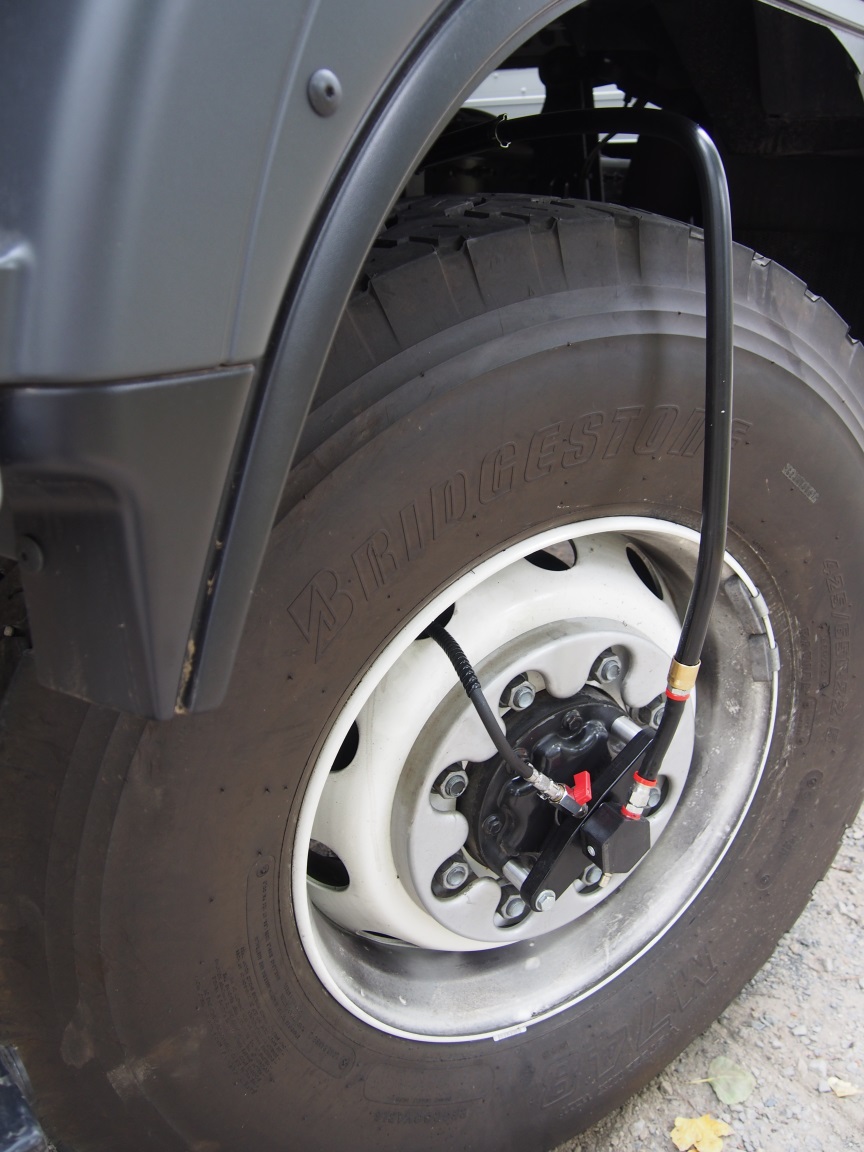 This is the front wheel setup. It has a custom made frame behind the wheel to support the main air line across the top of the tyre.
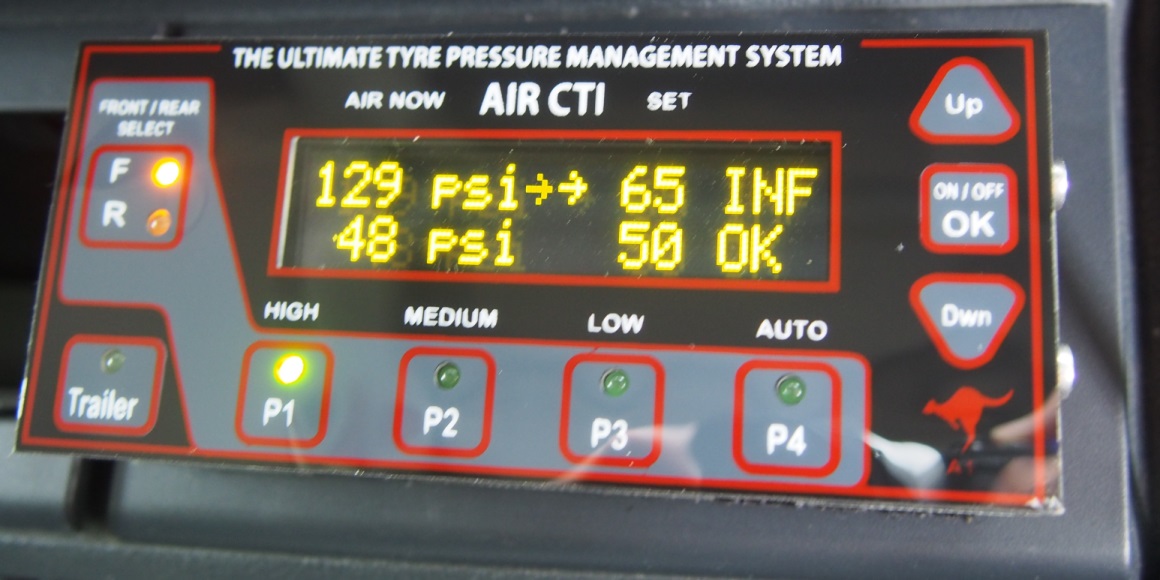
Everything is controlled from inside the cabin.
There are 3 preset pressure ranges for bitumen (P1), dirt roads (P2) and sand/mud (P3). Even with the pre-set pressures, for example the dirt pressures might be set by default to 35PSI for the front wheels and 50PSI for the rear, you can use the up/down arrows to manually adjust as needed.
To go from 50PSI in dirt mode down to 25 PSI in sand/mud mode takes two or three minutes, so it is not instant, but sufficiently quick to cater for changes in terrain.
The control panel has a feature that checks for slow leaks in the system or for punctures while you are driving.
One thing everyone worries about is the air lines getting ripped off when you snag them on things. It does happen, but apparently is is very rare. If it does happen the internal control panel has an alarm to notify you.
There were a few of minor complications with the install:
- The kit came with the wrong air-manifold adapter, so day 1 ended with a half installed system that couldn't be aired up (no big drama, but had to go and buy a new fitting).
- Once installed the main connection to the manifold (from previous point) had a slow leak. The original 'plug' on the manifold used an 'O' ring, and the new fitting was just using thread tape, so that has to come off for a 2nd attempt
- The plastic piping on the front wheels is very close to the body-work, so this will have to be trimmed by 40mm or so, and a new thread cut.
I haven't taken it out for a run yet due to the leak in the main brake manifold. Am sure it would be fine, but am happy to wait until it has been fixed properly.
This is a link to the supplier's website BTW: Air CTI Australia
Next post ...