Oct
20
2013
Starting the canopy - Flooring frame
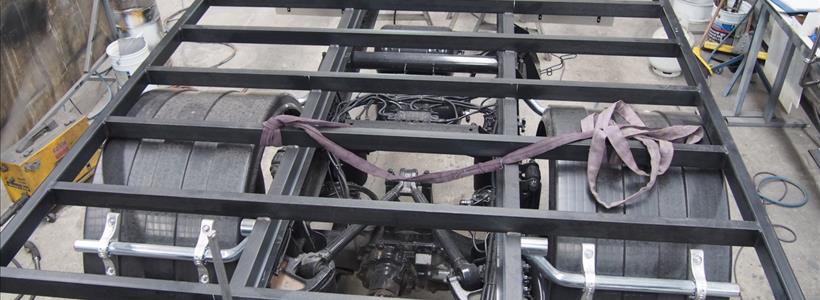
The first step in the canopy build proper has begun, with the initial layout of the flooring done.
The frame is located on top of the chassis by large pins welded to brackets on the chassis. There are 10 brackets (5 per side) tied down by 2 springs per bracket which will allow a degree of movement between the two.
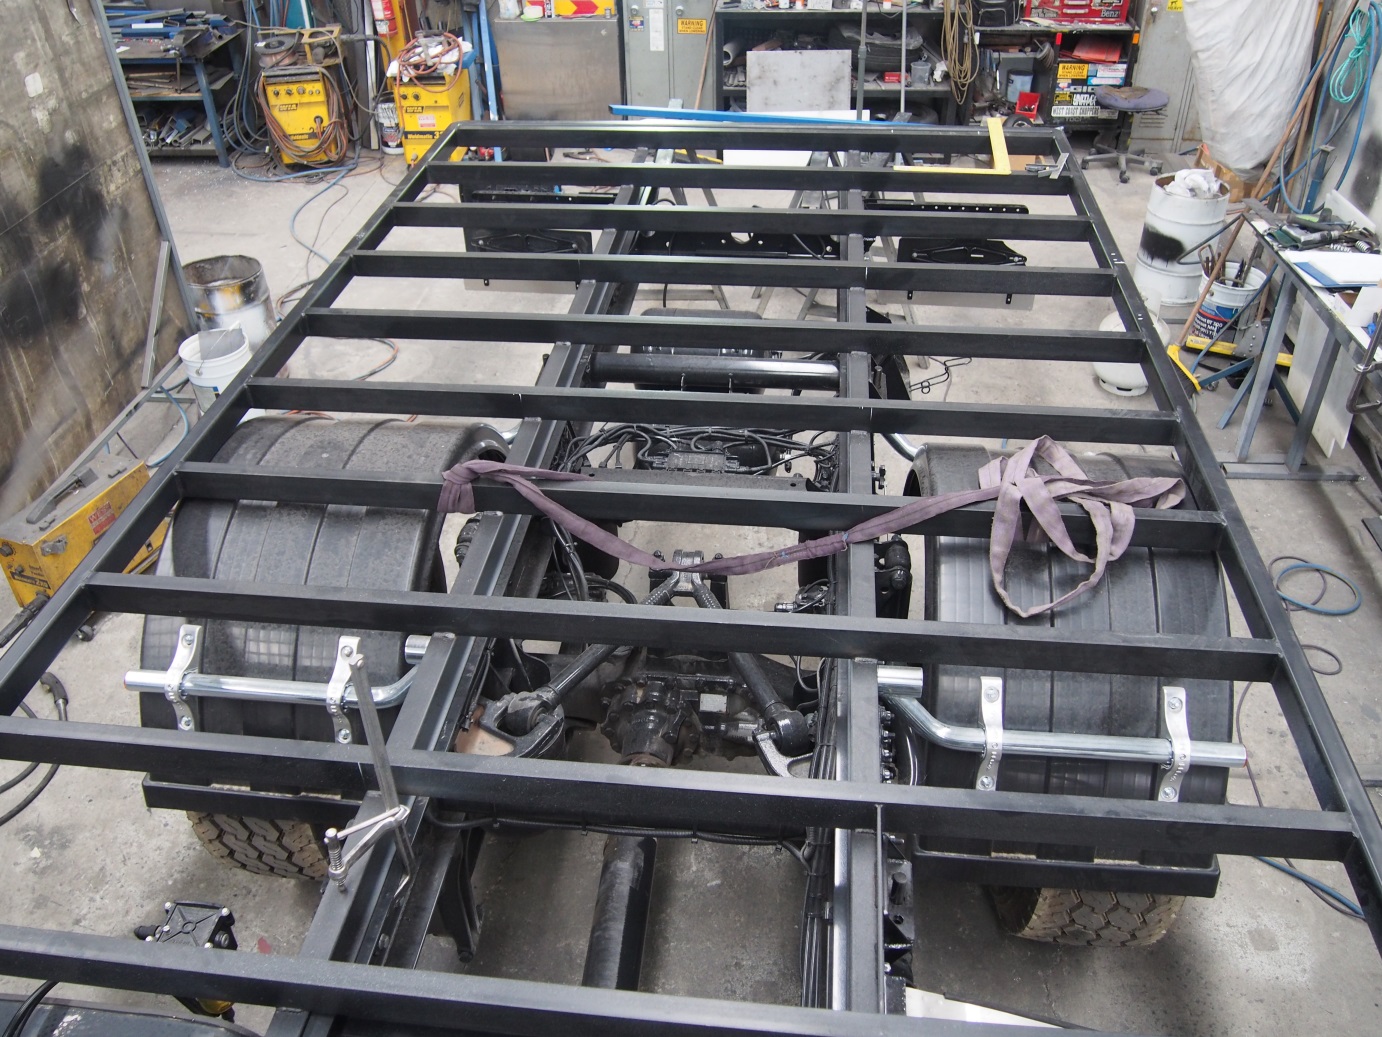
The frame sits right on top of the chassis, with locating 'cheeks' to keep the frame in place whist allowing the chassis to flex under the framework.
Once the fitting is completed, the frame will be taken off the chassis and turned upside down, so an external sheet can be fitted to make a cavity which will be filled with insulation. This is the same way a refrigerated truck is built, and it will keep things cool in the heat and warm in the old.
We let the air suspension down to the lowest setting, and the tyres still have a comfortable gap between the top of the tyre and the mudguards. At normal travel height there is a couple of hundred millimeters gap.
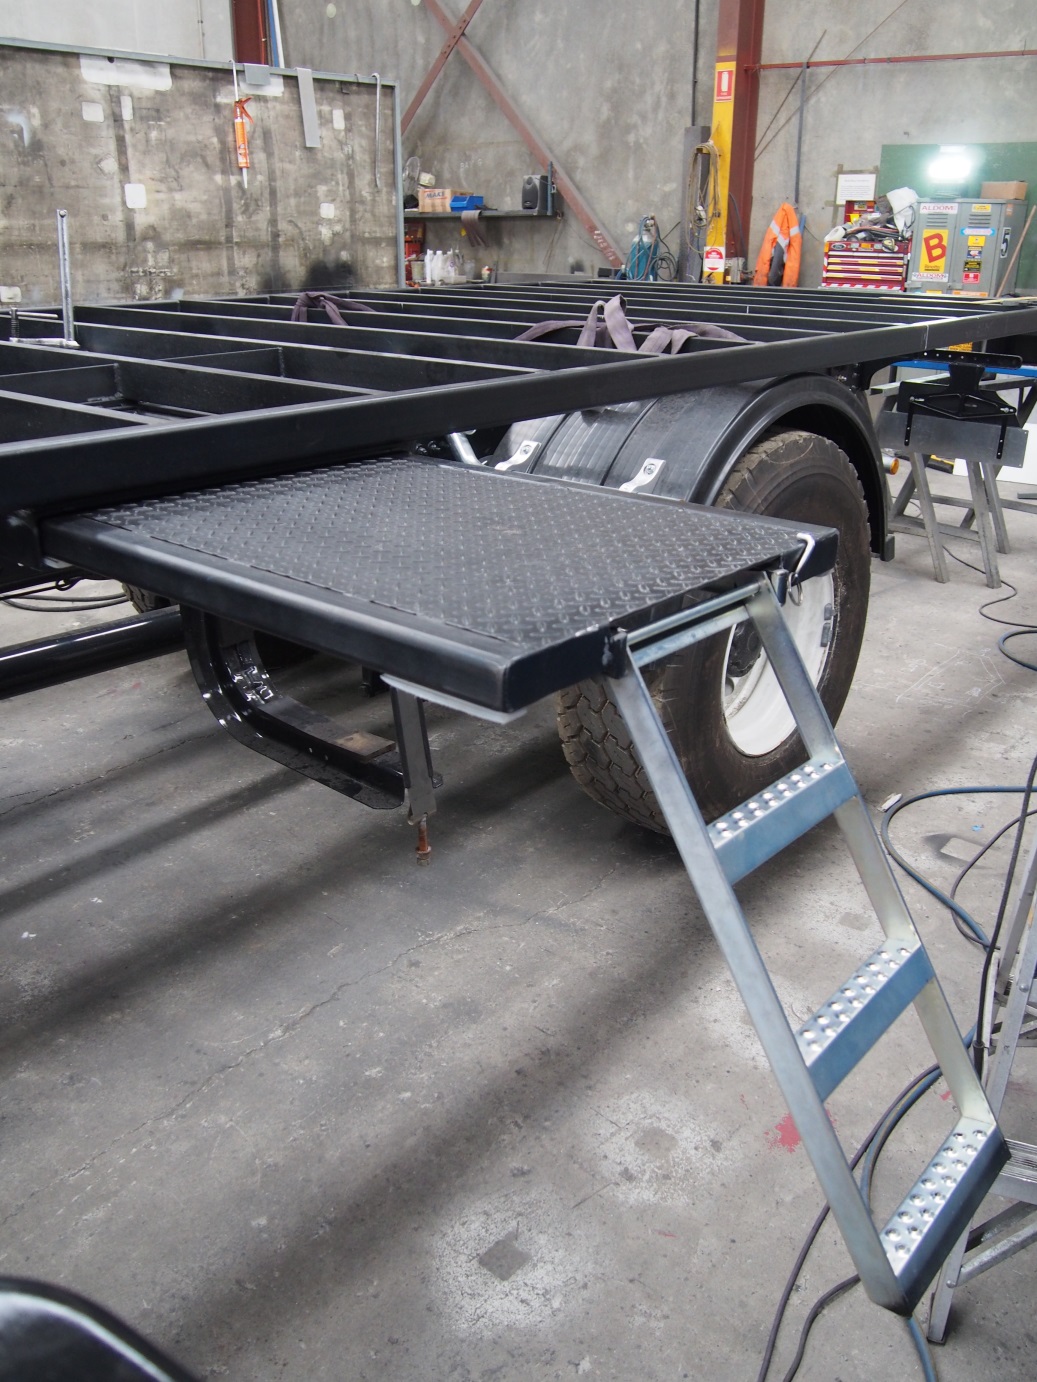 A set of custom steps has been built, which are attached to a slide out landing area. You can use the steps on their own, or you can slide the landing out so you've got somewhere to perch while you open the door.
The bottom step is about 600mm off the ground which is a bit of a stretch, but it's the same distance as the steps to get into the cabin, so we're expecting it to be easier to alight once we put on a handrail next to the door.
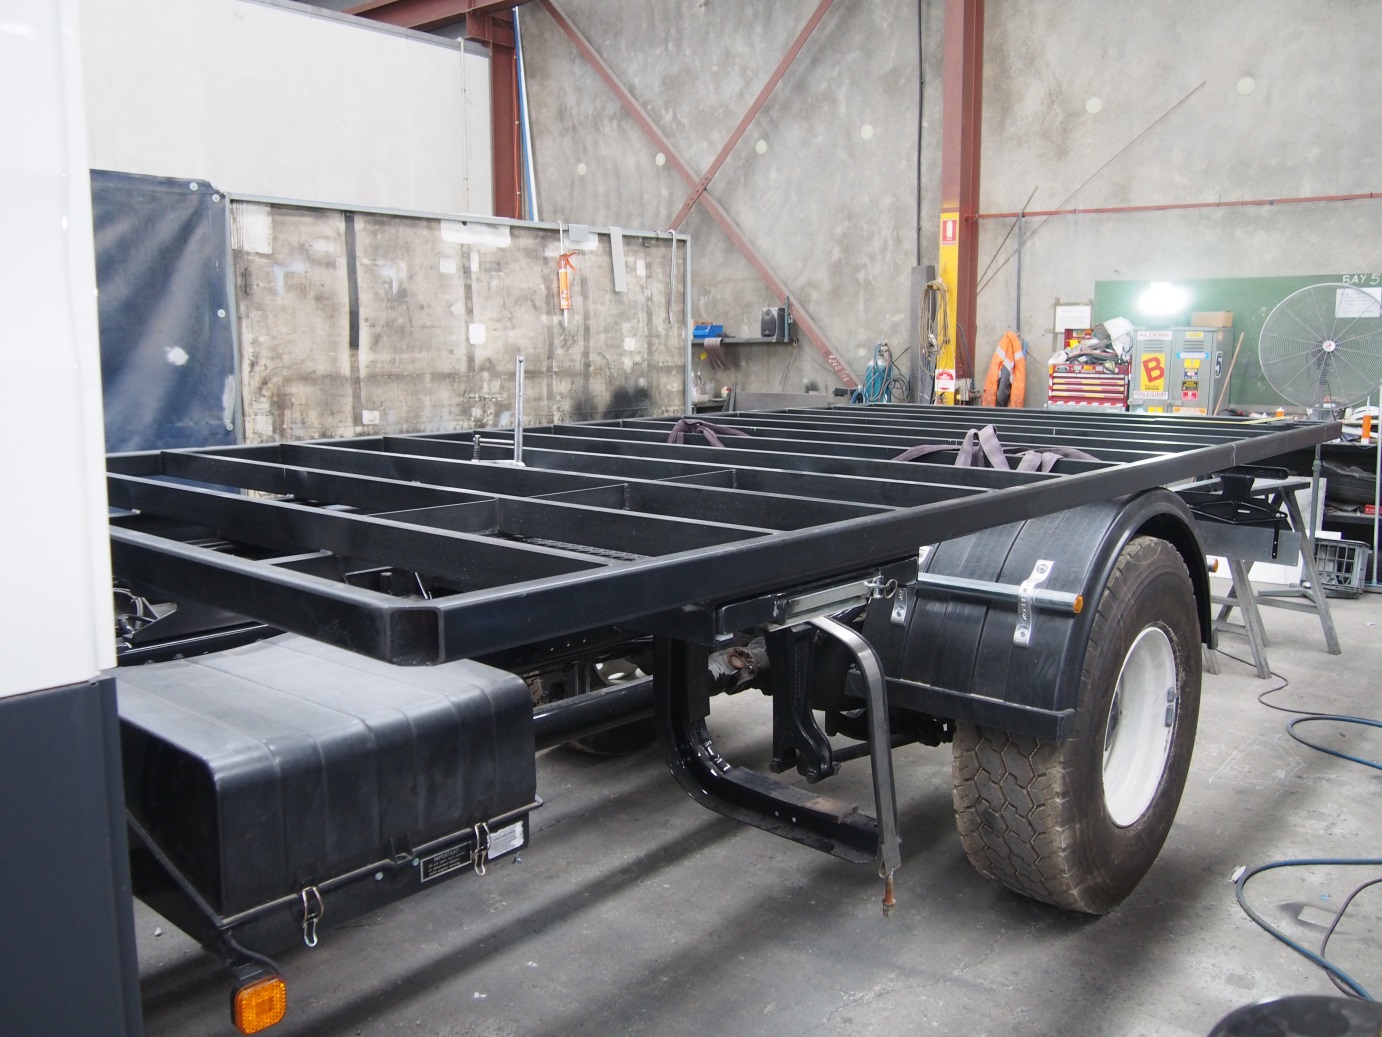
With the steps folded into the framework, you'd hardly know they were there. A simple spring catch locks the steps into travelling position.
The strapping underneath the steps is for the refurbished water tank.
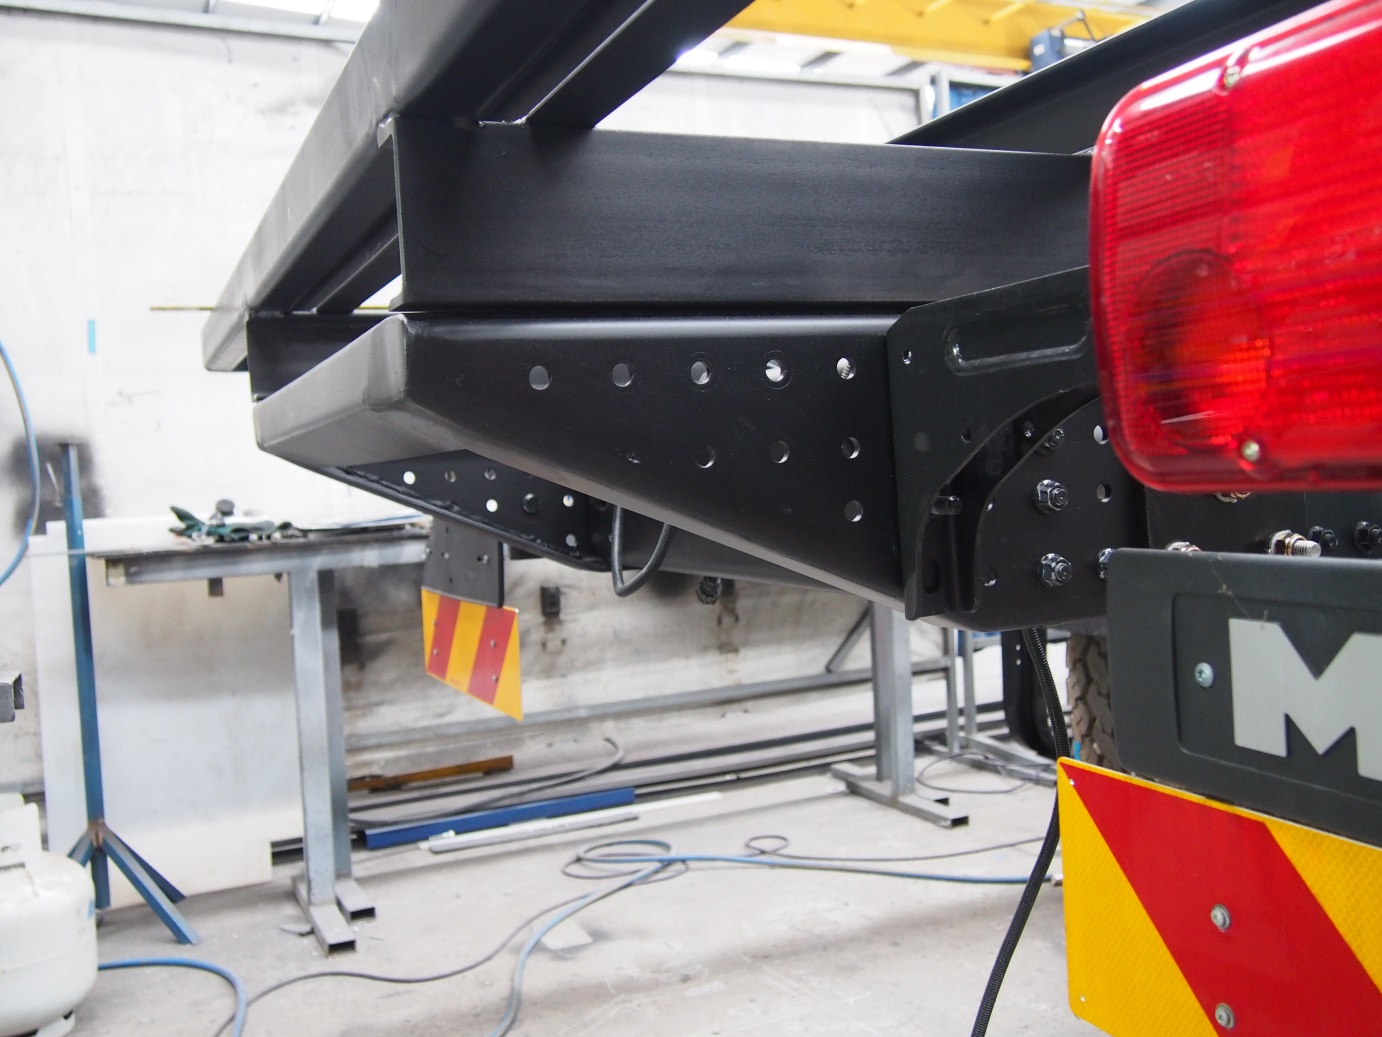
The rear of the chassis has been shortened by 100mm and angled up at about 60 degrees to give it a slightly better exit angle.
Next step is adding the floor insulation, and then start designing the under-floor storage bins which will attach the the underside of the floor framing.
Next post ...