Apr
17
2015
I blame my brother for having to add this to the truck at the 11th hour! We went for Easter breakfast and the discussion turned to our imminent departure. Last year he drove through a lot of the roads we are taking, and he thought we really should have a 2nd spare tyre with us, especially as they are a bit of an unusual size. So this started off a project that I wasn't planning to do before we left.
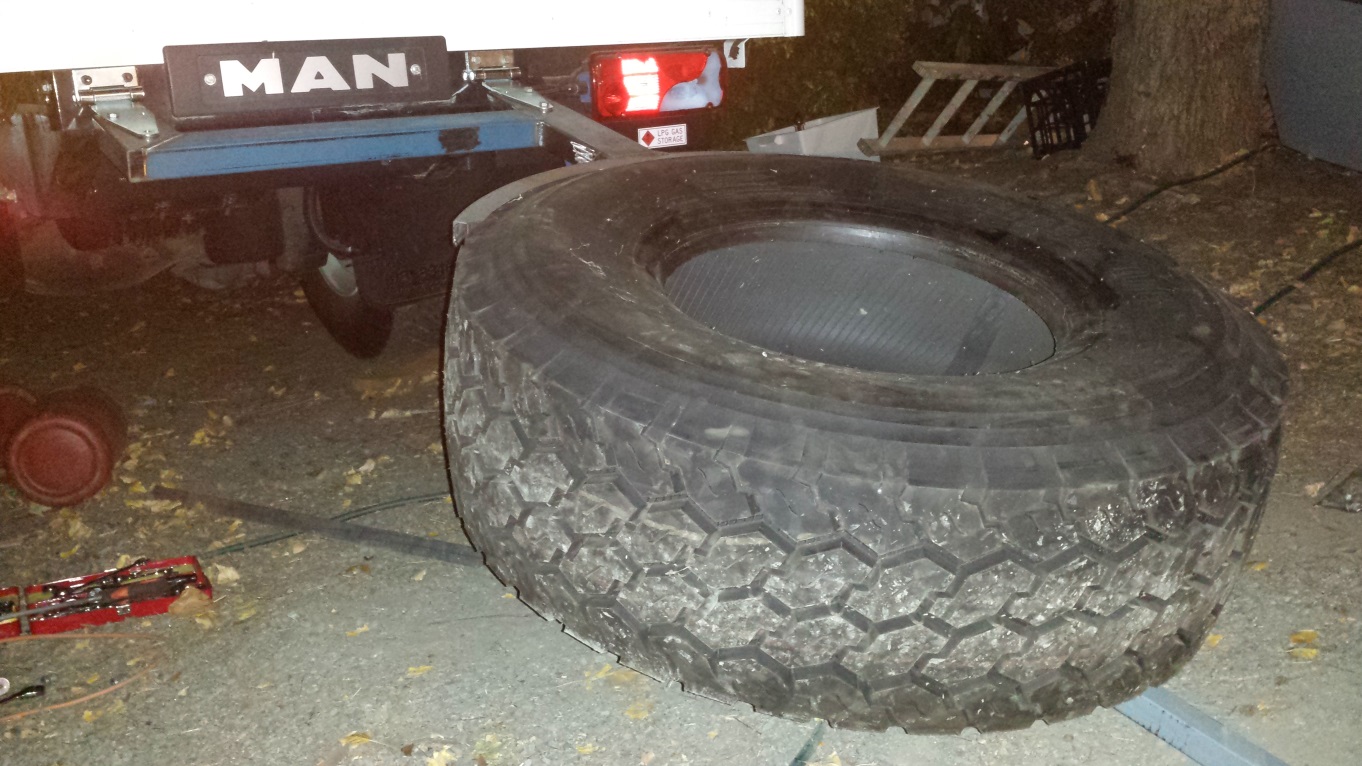
We had a fully mounted spare tyre under the bed area, but he reckoned we'd regret only having one spare. Our 2nd spare is just a tyre only, no rim, to save weight.
So began a hurried design and fabricate project that took 3 days to build - way longer than I imagined. As is customary, it began with a rough sketch of what it possibly might look like at the end.
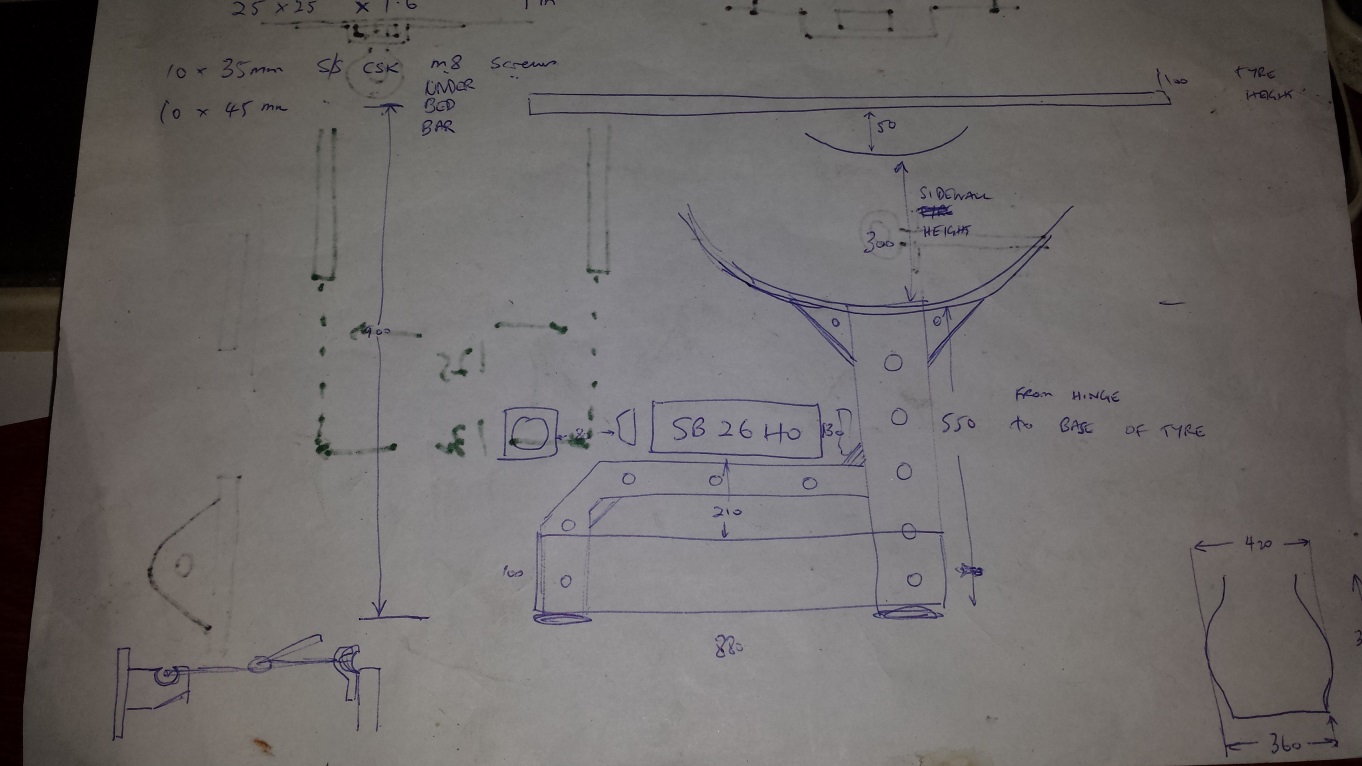
The idea was to have a hinged system where the tyre is raised and lowered using a simple lever beam with some rope and pulleys to do the lifting.
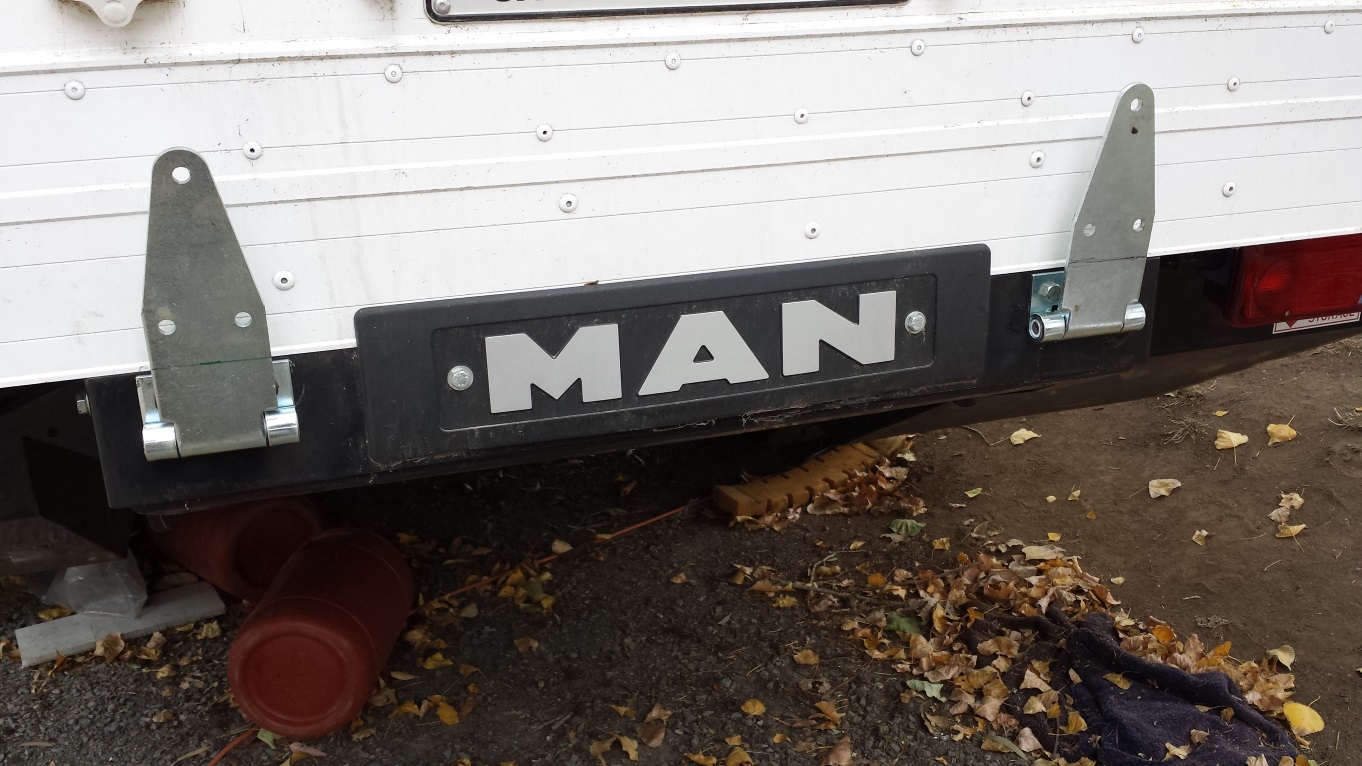
Firstly, some brackets to add strength to the rear cross-member needed to be fabricated. These were two right angles that bolted back to the main canopy chassis rails.
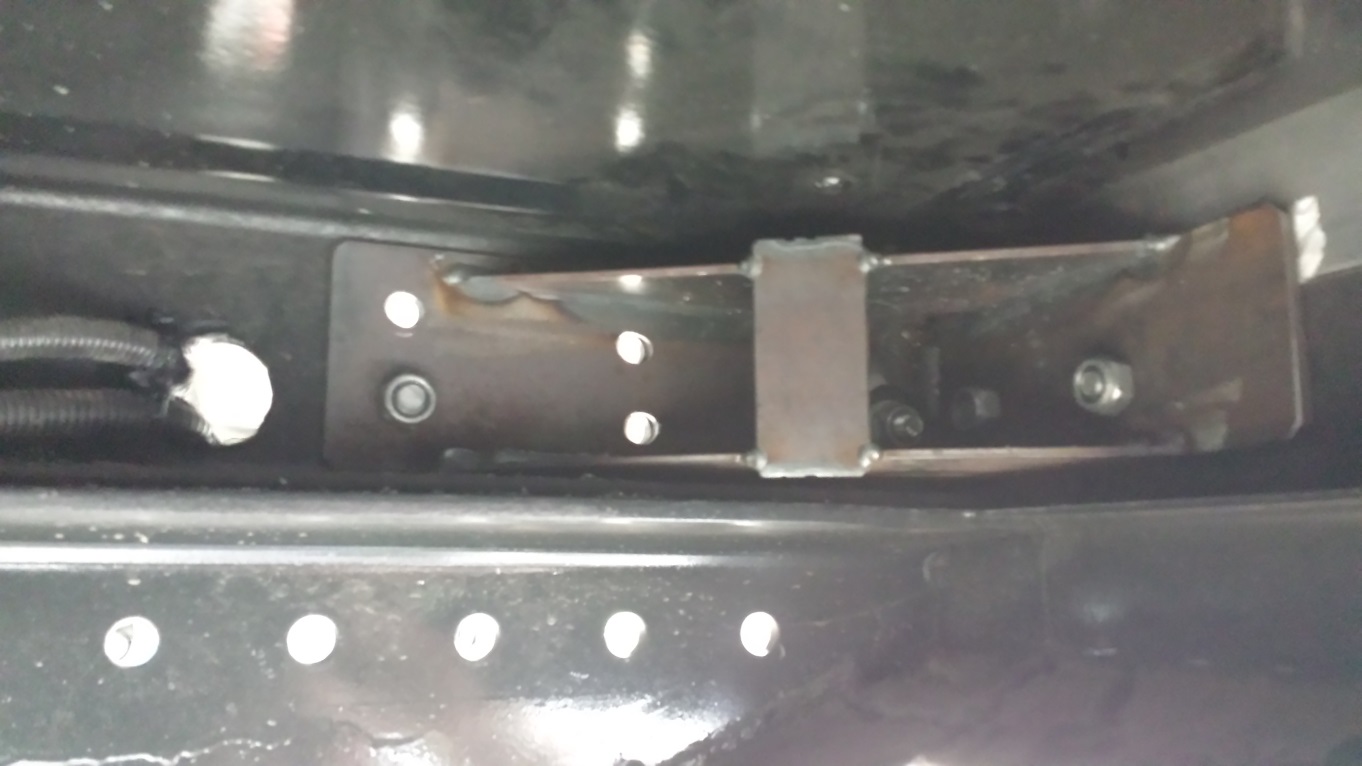
Then the hinges were bolted through to the brackets.
The assembly to take the main weight of the tyre was built from 100 x 50 steel beams. The cross-bar across to the left hand hinge was to steady things from moving left and right.
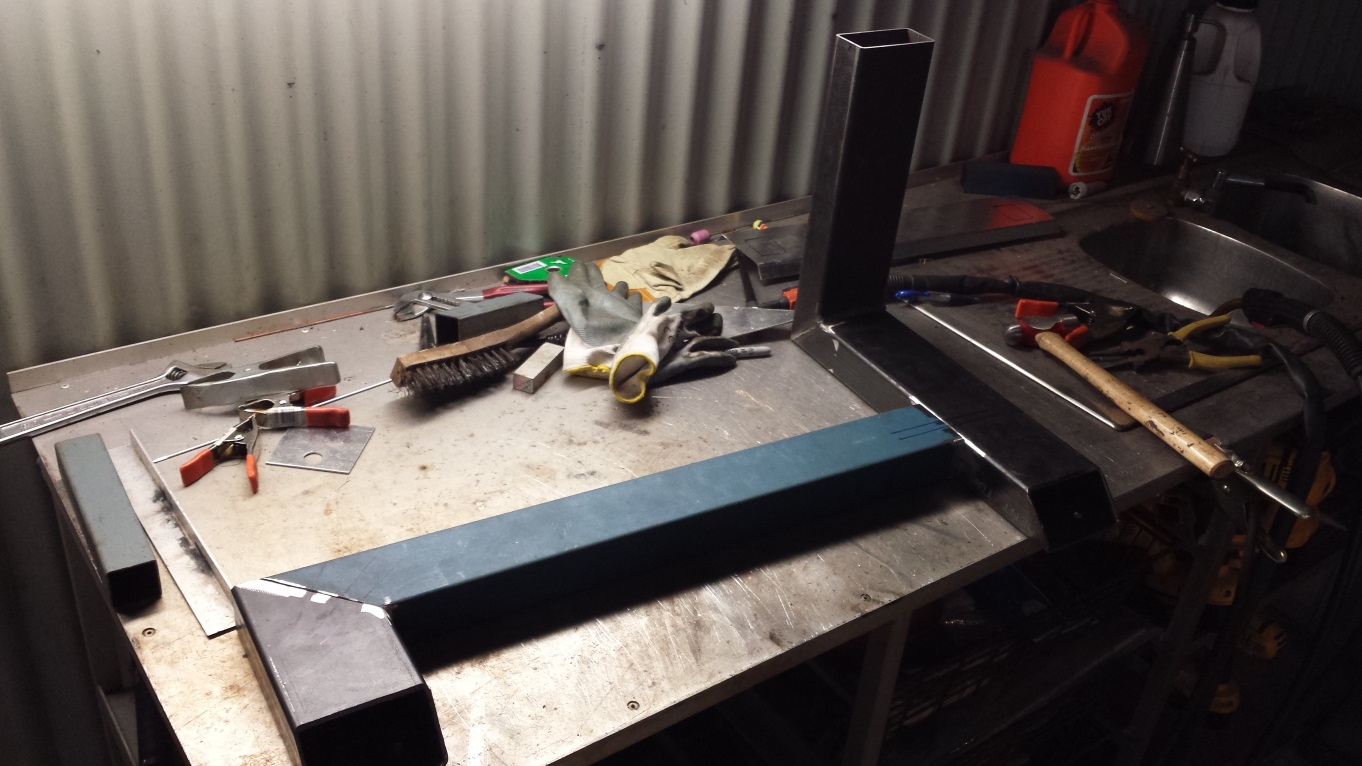
Cradling the tyre posed a few interesting problems. I had a couple of prototypes using angle iron but it was hard to bend an even curve. In the end I rolled some steel strap to the same diameter as the tyre circumference in my little roller.
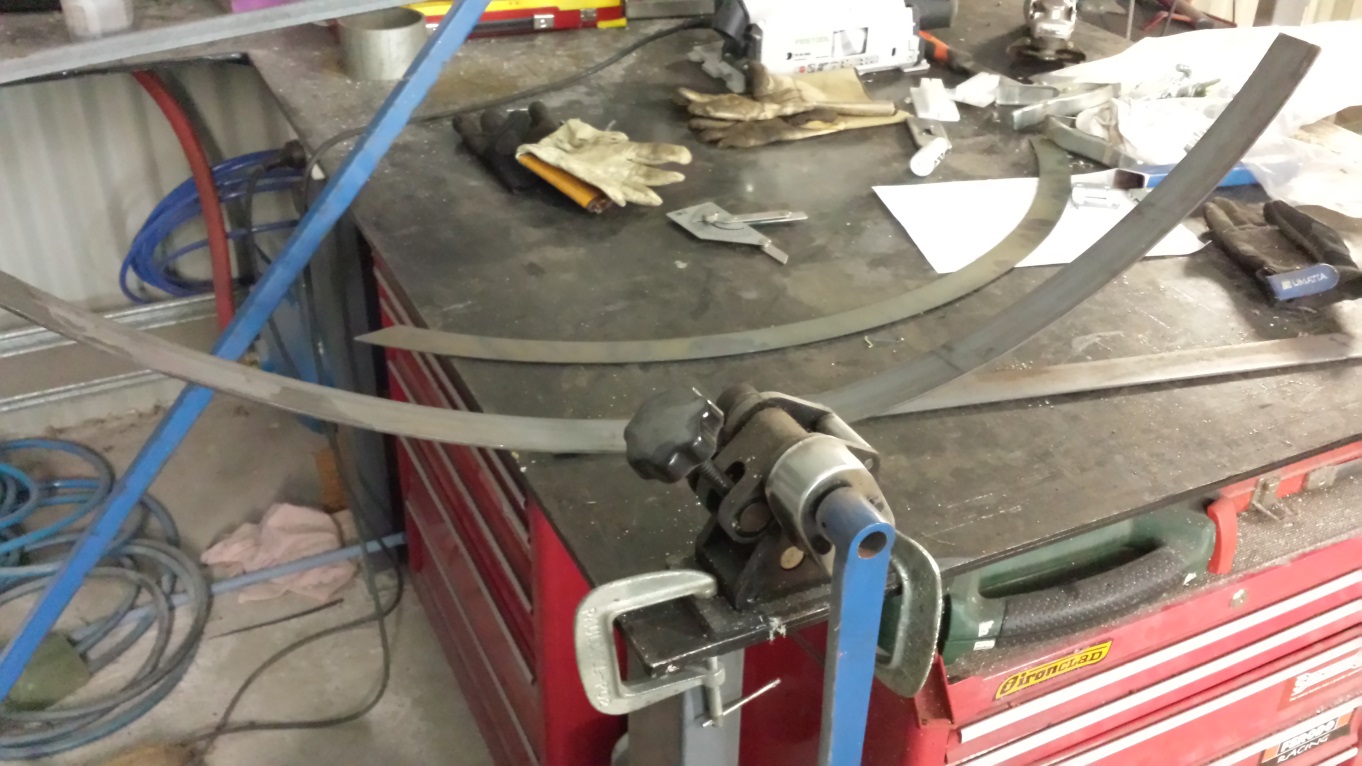
And then plasma cut out a couple of arcs to act as the sides. By welding them together I got a curved "angle iron" assembly that fitted the tyre profile very closely.
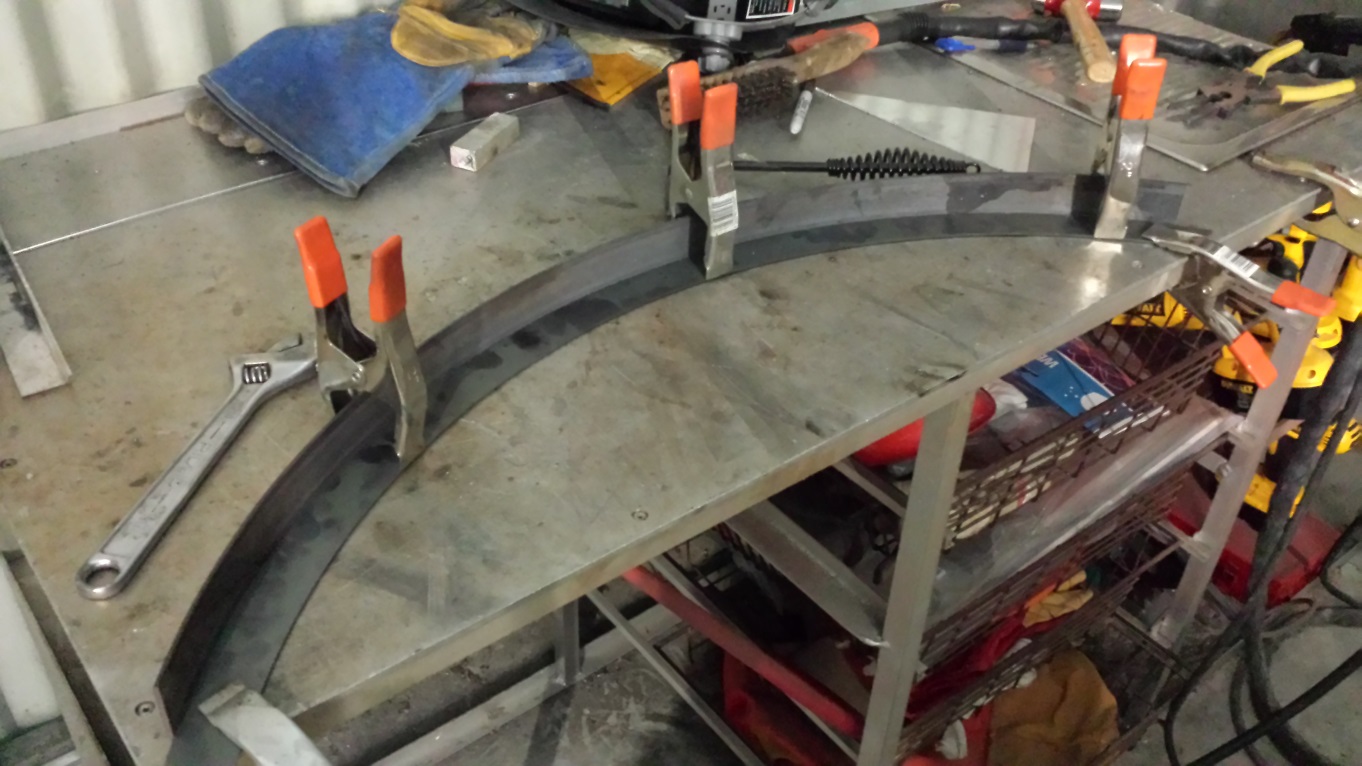
Putting the basic pieces together gave a cradle for the tyre like this:
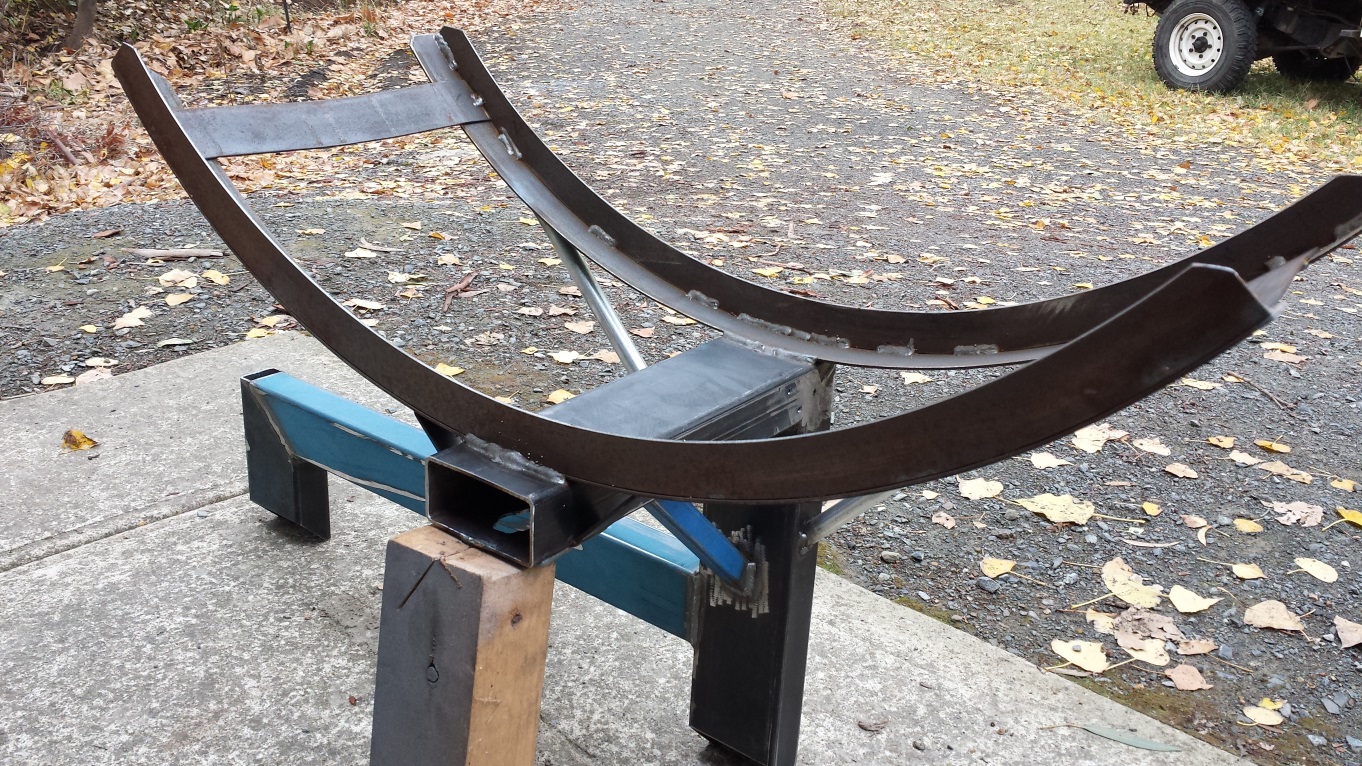
By the time I fabricated a handle the first day had disappeared, and it was late when I got to do the initial test fit. The tyre rolls easily onto the assembly when it is down and the cradle stops it from moving left or right when it's being lifted. This is how it starts out:
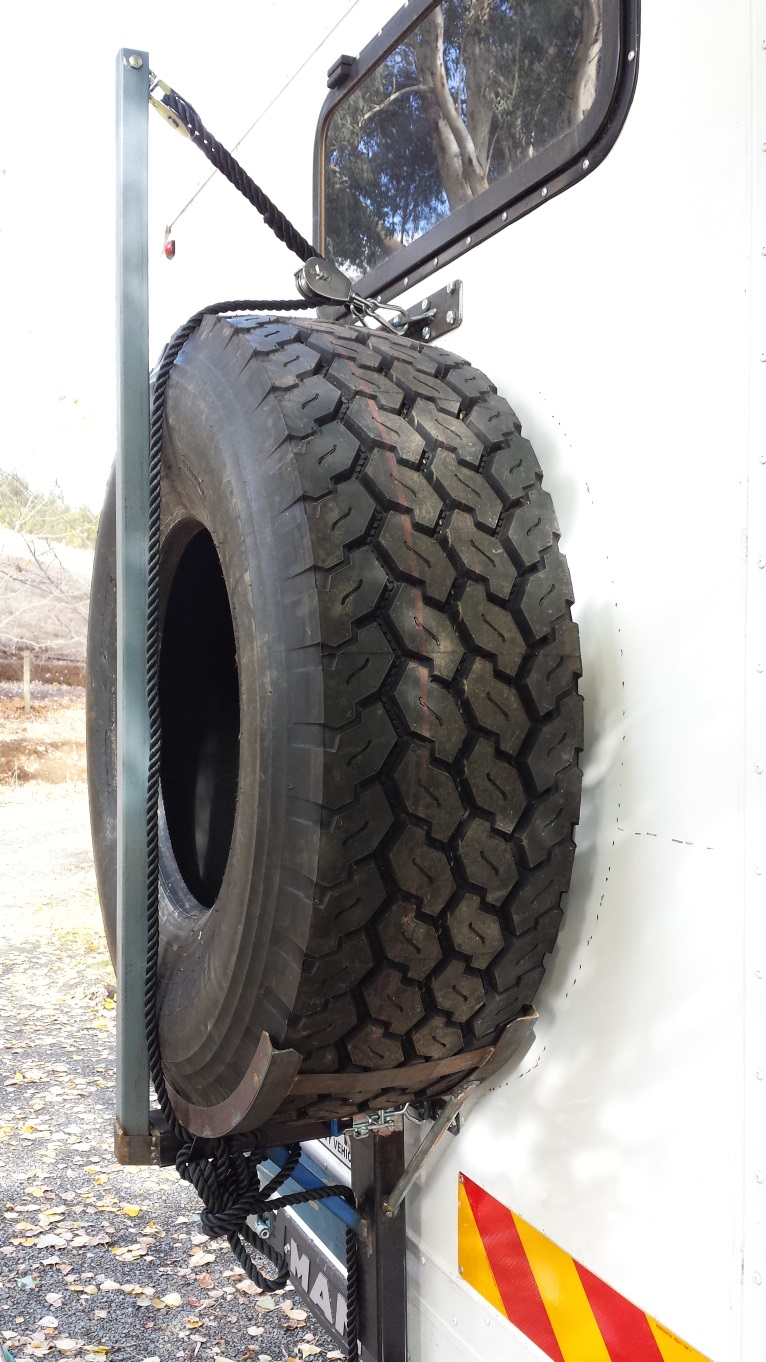
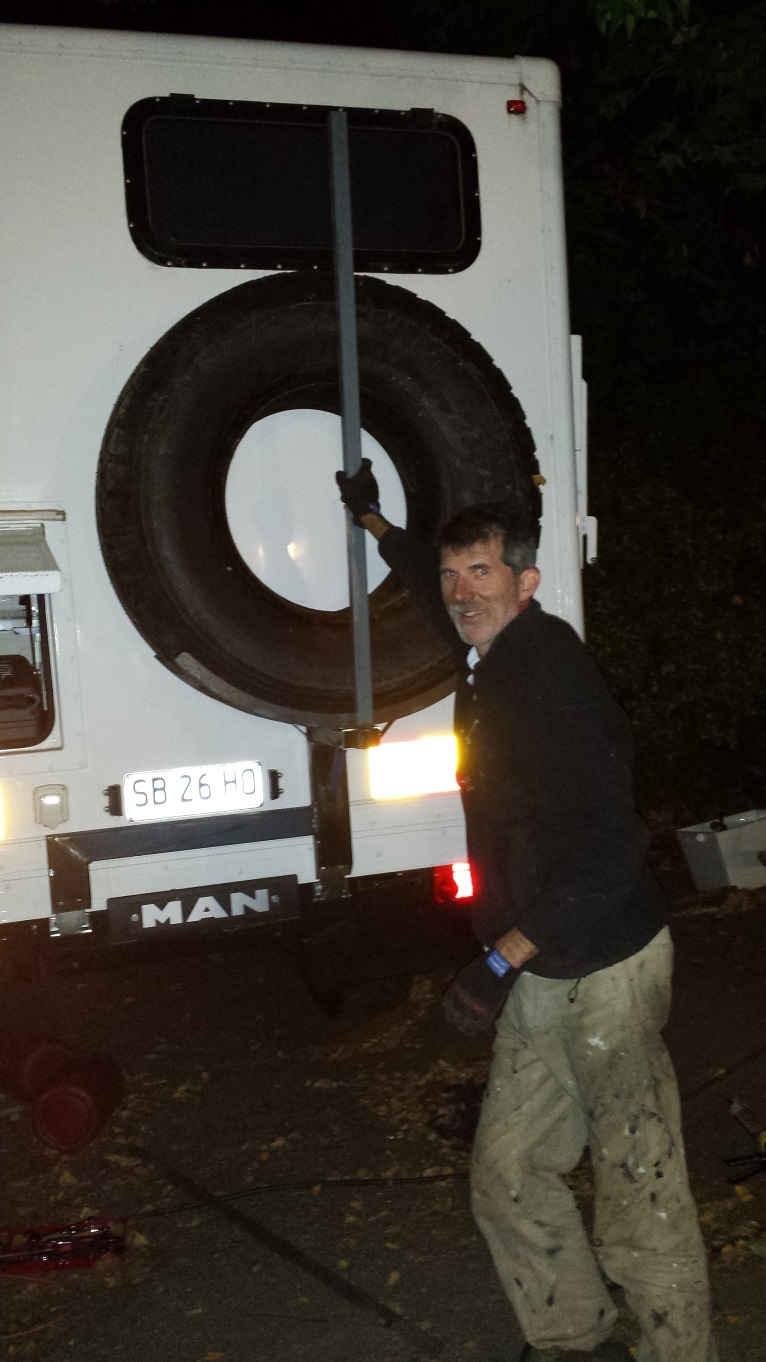 And then you hoick it up in the air to end up like this.
The tyre on its own weighs 75Kg (170 pounds), so it is just possible to do a manly lift and get it up there, but you'd end up with a hernia if you did it a few times.
Note my special truck building pants, covered in stray bits of adhesive sealant. They're the third pair I've completely ruined building this truck.
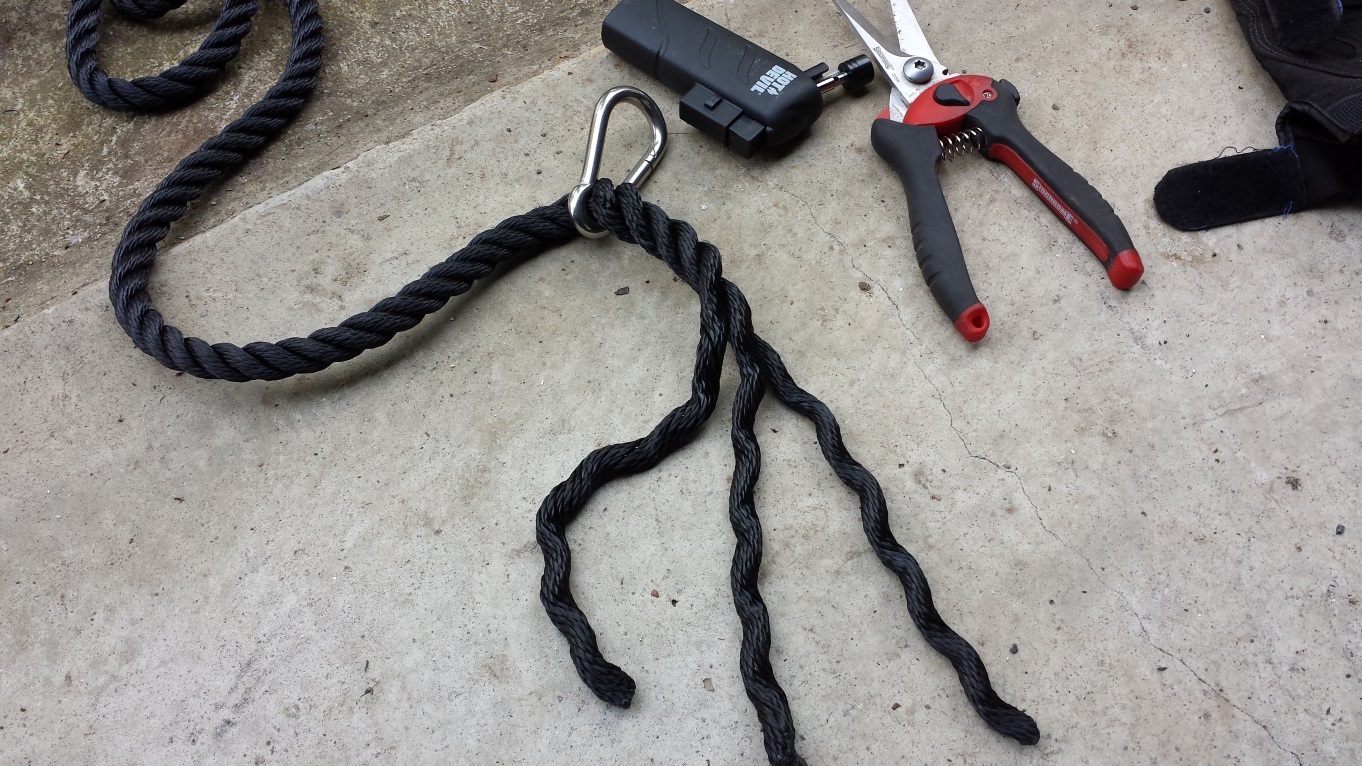
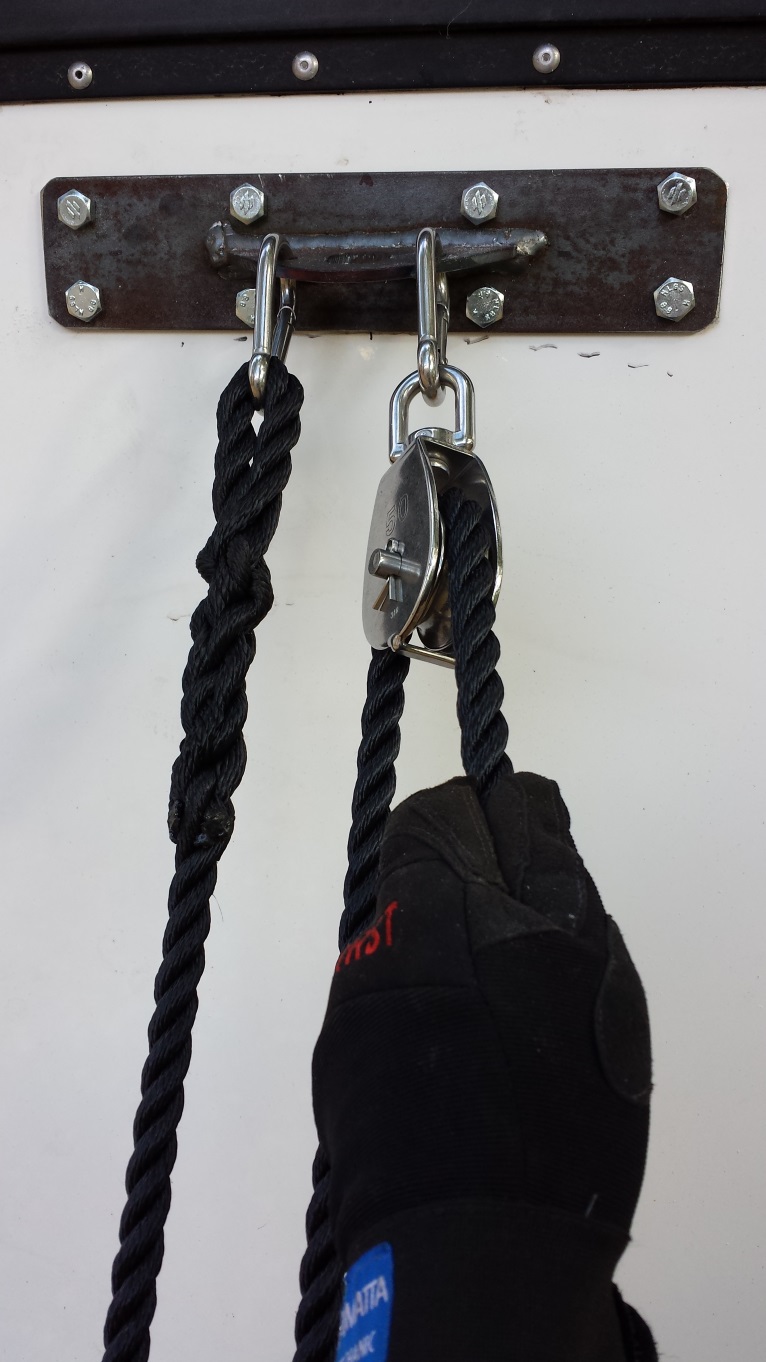
To make it easier to lift, I went down the yachting route and got some pulleys and rope. Most people seem to have an electric winch in this situation, but I went down the "simpler is better" route, hoping that the times we'd need to use it would few and far between.
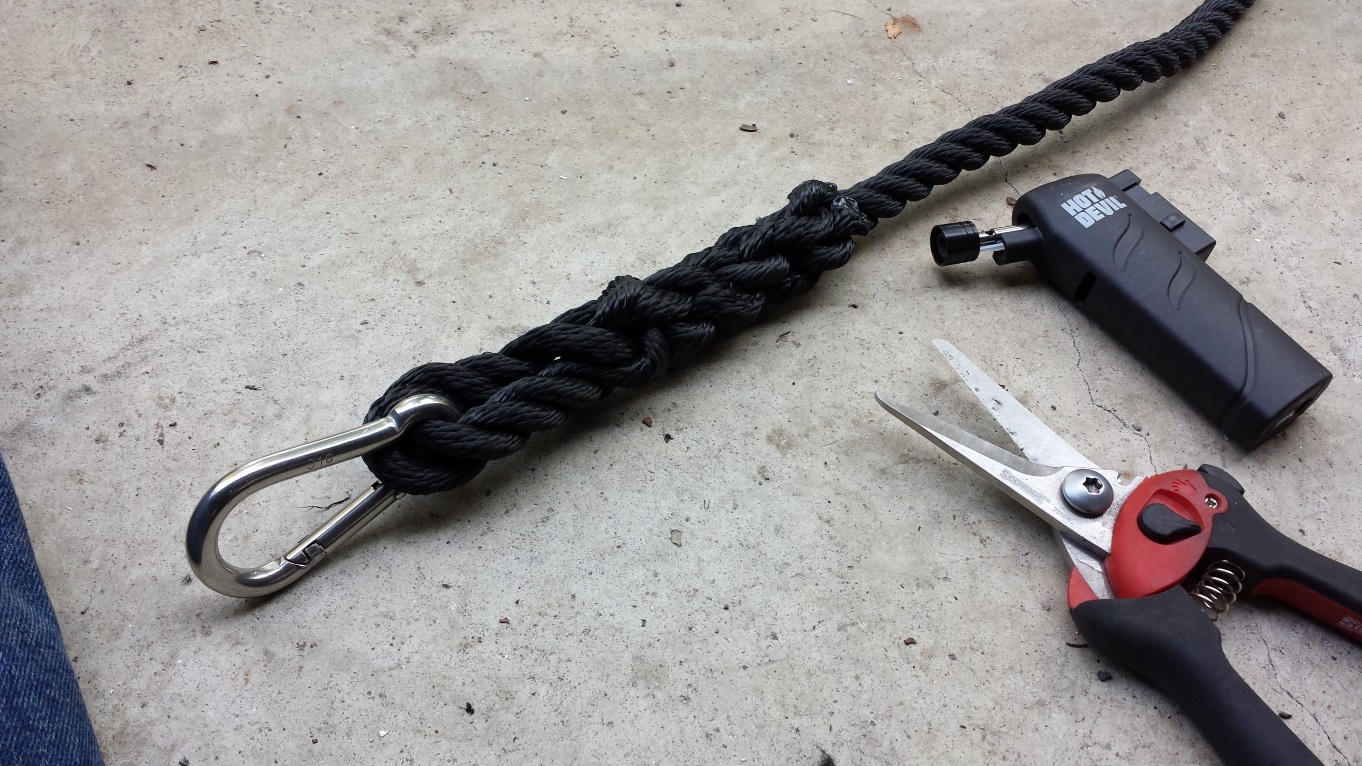
It's been many years since I've had to splice an eye into a rope!
Got it all spliced and burned the ends of the rope to stop it fraying and job done.
With pulleys it made the lifting so much easier. About three times easier I think, from the maths of 2 pulleys, so more like lifting 25Kg instead of 75Kg.
Or maybe its only twice as easy?
Whatever, the pulleys mean you can lift it on your own without bursting a blood vessel.
You can see here the top bracket, and how the pulleys fit together.
This top bracket is what the main securing strap will fix to once the pulleys are disconnected. It is braced back to a couple of Aluminium square beams internally.
The majority of the tyre's weight is supported by the hinged cradle. The top bracket just stops the wheel 'falling backwards' so there's not all that much force being applied to it.
By now the whole assembly was self supporting. The bar at the rear of the tyre is only there for lifting/dropping things. It gets stored in the garage area for transit.
The last few things to finish it all off were some lateral brackets to stop everything moving left to right, and then to paint everything.

There are a couple of over-centre latches to keep the steel-work pulled in to the body, and give a third point of attachment.
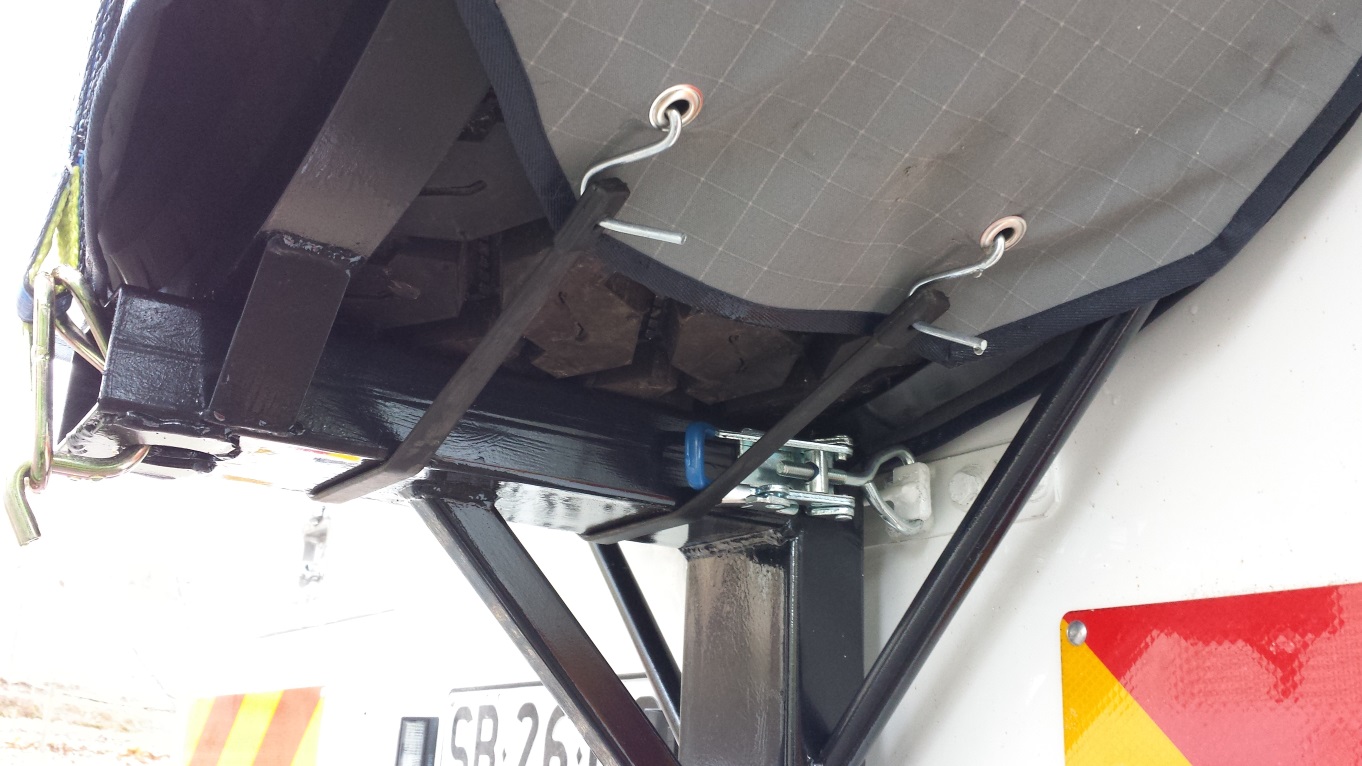
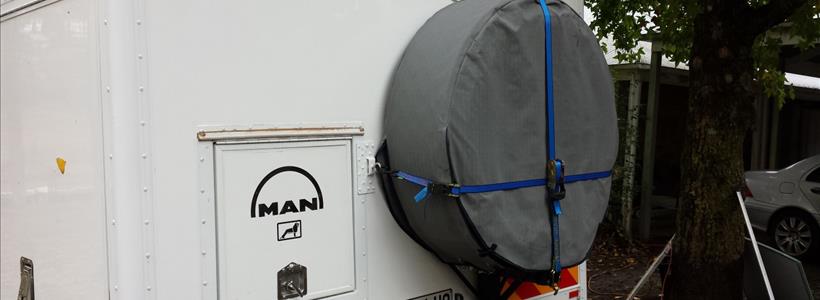
To finish it all off, a canvas cover to keep out the water and the dust. Then strap it all on with truckie tie-down ratchet straps. The side tie-down strap is rated at 450Kg and the vertical strap is rated at 1500Kg, so that ought to be sufficient for a 75Kg tyre.
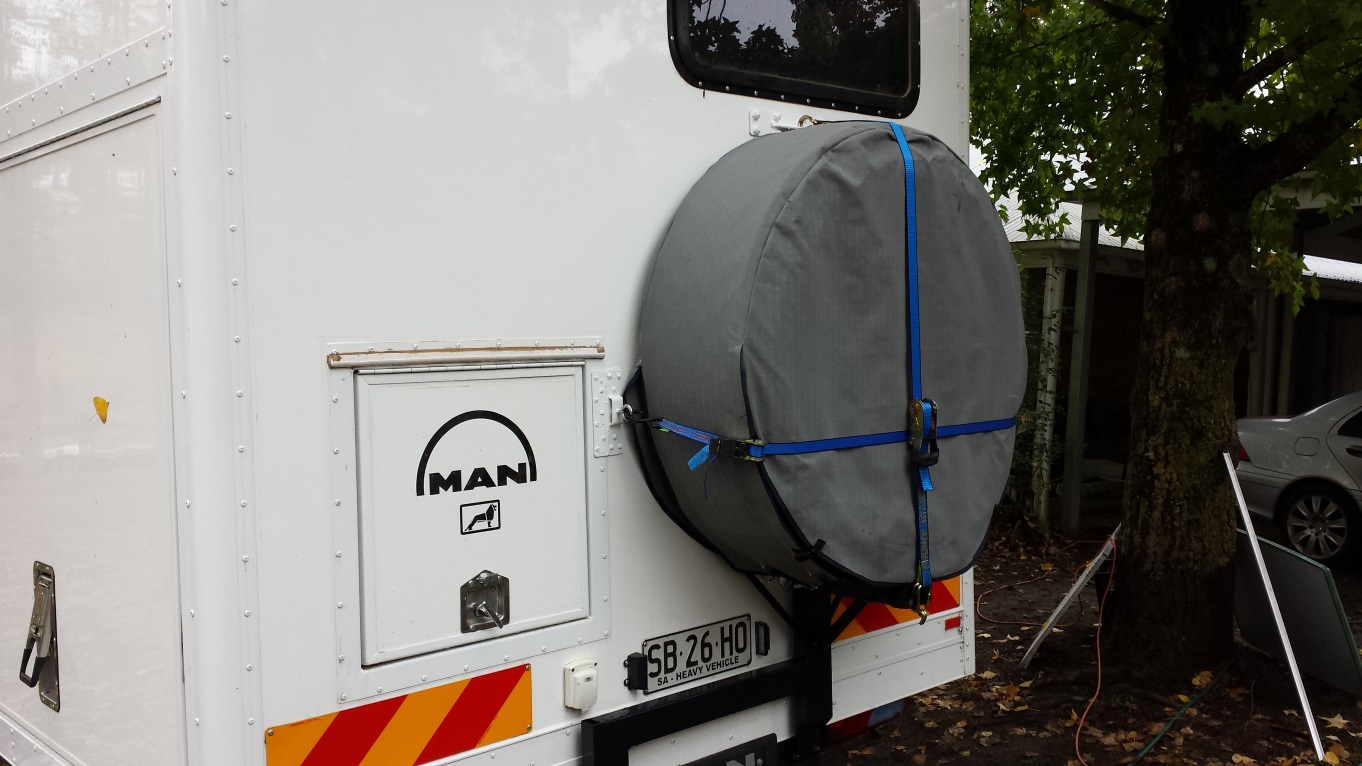
The tyre cover can be lifted up and we're planning to store our rubbish in there. The insides of those tyres have a huge volume, so we'll be able to fit in 3 or 4 rubbish bags easily.
I do have a slight concern as to how strong the rear wall of the body actually is. The central strap is tied back to the base of the bed, which is 5mm angle iron, and that is well secured to the sides and floor, so it shouldn't be an issue... I hope! It'll be embarrassing to turn up somewhere with a missing tyre and a gaping hole torn in the back of the canopy!!
At the end of three days I was over it all, but now that it's done I'm happy to have 2 spares on board.
Next post ...