Nov
08
2014
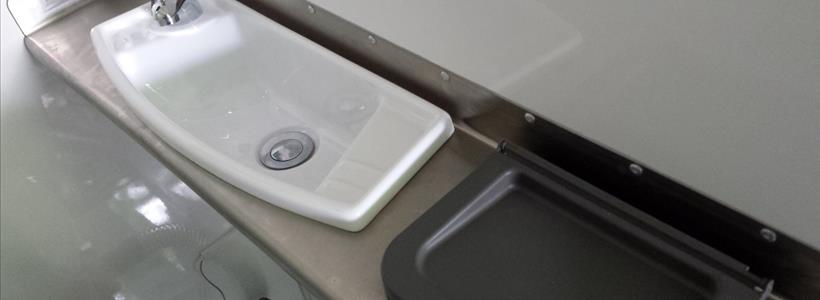
This weekend's project was installing a basin in the bathroom. It is quite a simple design, with a hand basin on the left and a rubbish bin on the right.
I wanted the rubbish bin to be easily accessible from the main cabin, and I wanted it to be in the bathroom so any nasty smells are tucked away somewhat. The toilet has a constant 24 hours a day blower, which continuously sucks air out of the bathroom via the toilet, so any smells from either the bin or the toilet should get piped outside.
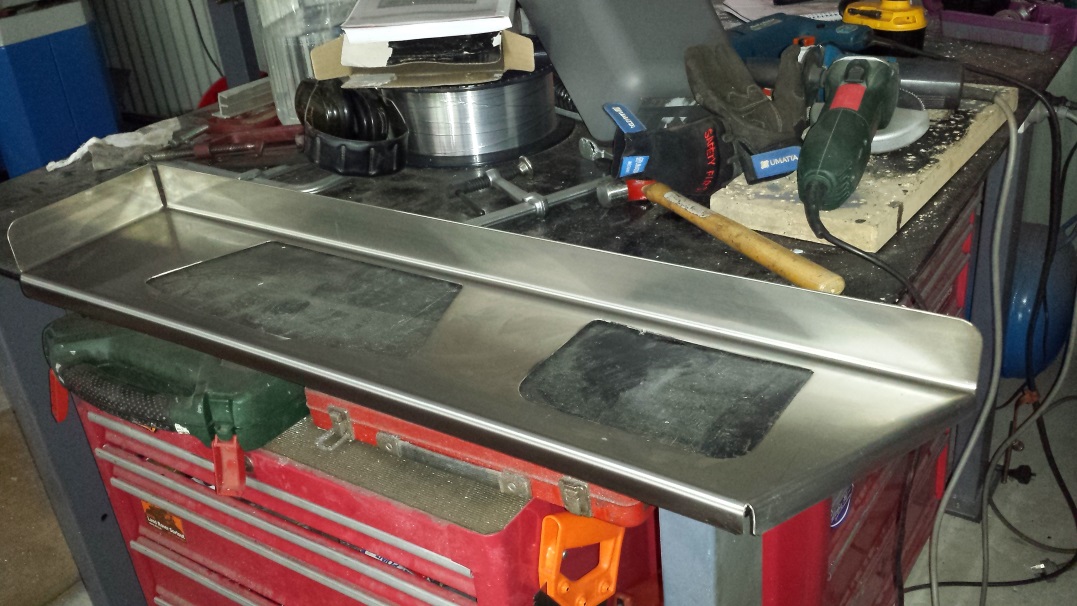
I drafted out a plan in CAD and cut it out using the plasma cutter, using 1.2mm stainless steel. I also cut 2 brackets to stabilise things.

To bend it up required a bit of thought, as there are bends in opposite directions and angles. Standard benders do a good job of making simple "box shapes" but are not so good when you get complex bends. I had to resort to clamping one side to my bench and manually bending things(with some judicious use of a big hammer) to get it to look like this:
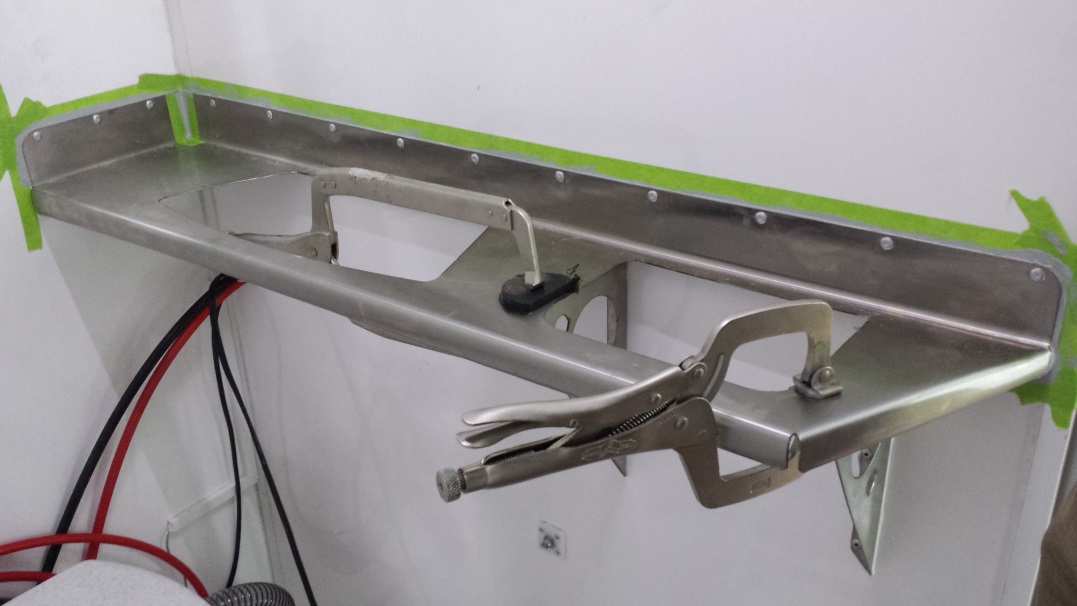
This is how it got fitted to the bathroom wall, with a bunch of rivets and some SikaFlex. I didn't want to put rivets on the horizontal surface, so the support brackets are only stuck to the underside of the bench using SikaFlex. (* Actually - it is not SikaFlex, it is something from Soudal called T-Rex. See the bottom of this post if you want more details)
I do love that plasma cutter! The cutouts for the sink and the bin were millimeter perfect. They fitted straight in, although I did have a small disaster fitting the hot/cold tap. It required a 35mm hole for the base of the tap, and the closest holesaw I had was 32mm. No dramas - drill then file a bit. Except that when I was filing the hole I slipped and the file punched a very neat hole in the bottom of the acrylic basin :(. Had to order another one this morning, so it will be another week before I can really finish off this job.
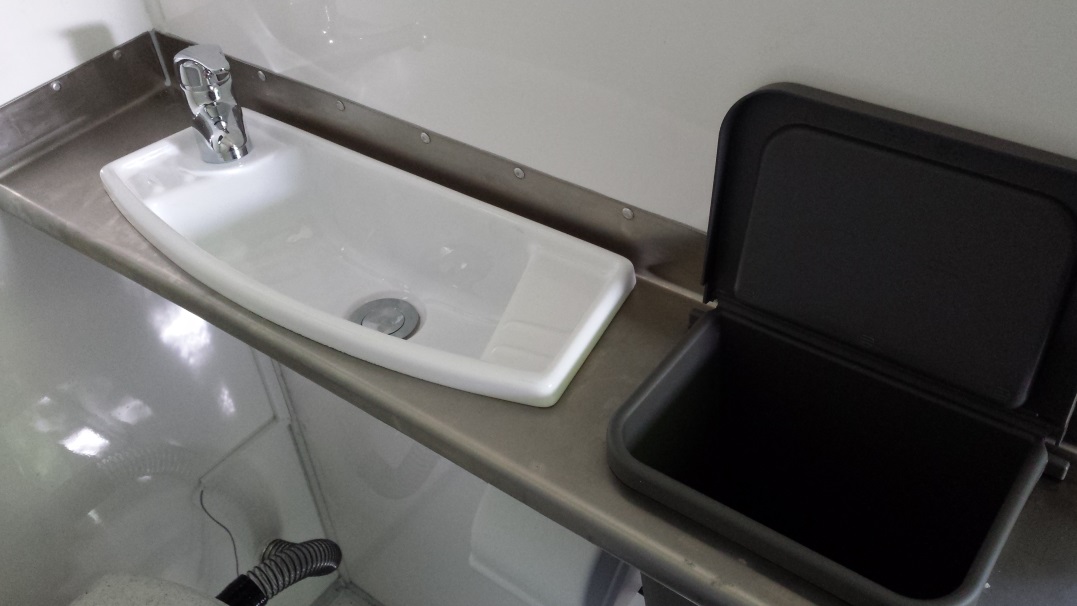
Just needs a polish to get rid of the stray blobs of sealant and the fingermarks (and of course a whole new basin) and that's another job done.
T-Rex Adhesive/Sealant
The adhesive/sealant I've used on all these jobs is something called T-Rex from a company called Soudal. It is fabulous. Has a high grip rating, so you can just push parts together and (within reason) it holds them immediately while you pfaff around.
It also works on wet things, and even under water! About the only thing I've found that it will not stick is HDPE.
It comes in black, white and grey and probably other colours as well, but they are the three most useful ones for building a truck.
In Adelaide you can get it from Fred Worthley and Sons out at Cavan. About $12 a tube from memory... but not 100% sure on that. Also, Soudal produce a 'high leverage' gun to use with this for $25. A standard caulking gun works but you have to squeeze really hard. The proper gun makes it a lot easier.
Here's a link to a YouTube video showing how it works:
Next Post ...